Cherubs can be found in a wide variety of artwork, especially historically in Greek and Roman works. Cherubs are known as angelic beings who represent sacred love. Many believe that cherubs hold the highest angelic order in heaven, making them closest to God. Outside of religious realms, cherubs symbolize romantic love—you likely see cherubs reappearing around February 14th every year. If you have a background in art history, or frequent museums, you’re likely very familiar with cherubs’ presence in fine art.
Now that we’ve taken the time to acknowledge the iconic imagery of cherubs within fine art, let’s create our own depictions of these magnificent beings!
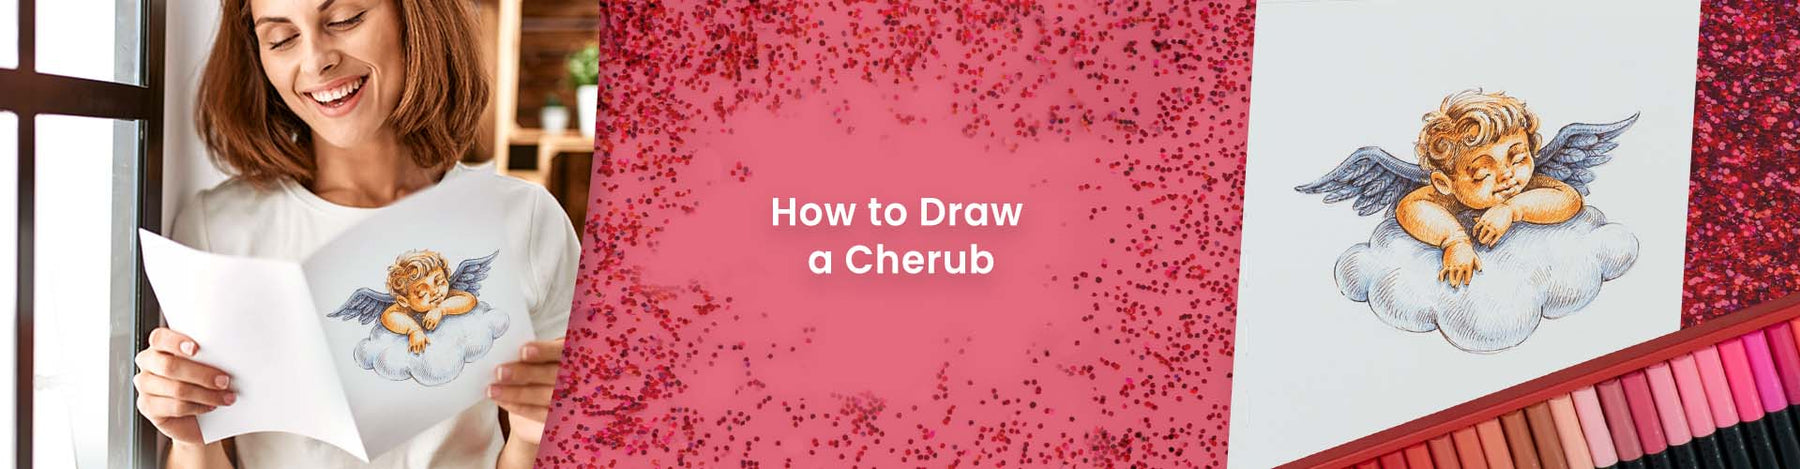
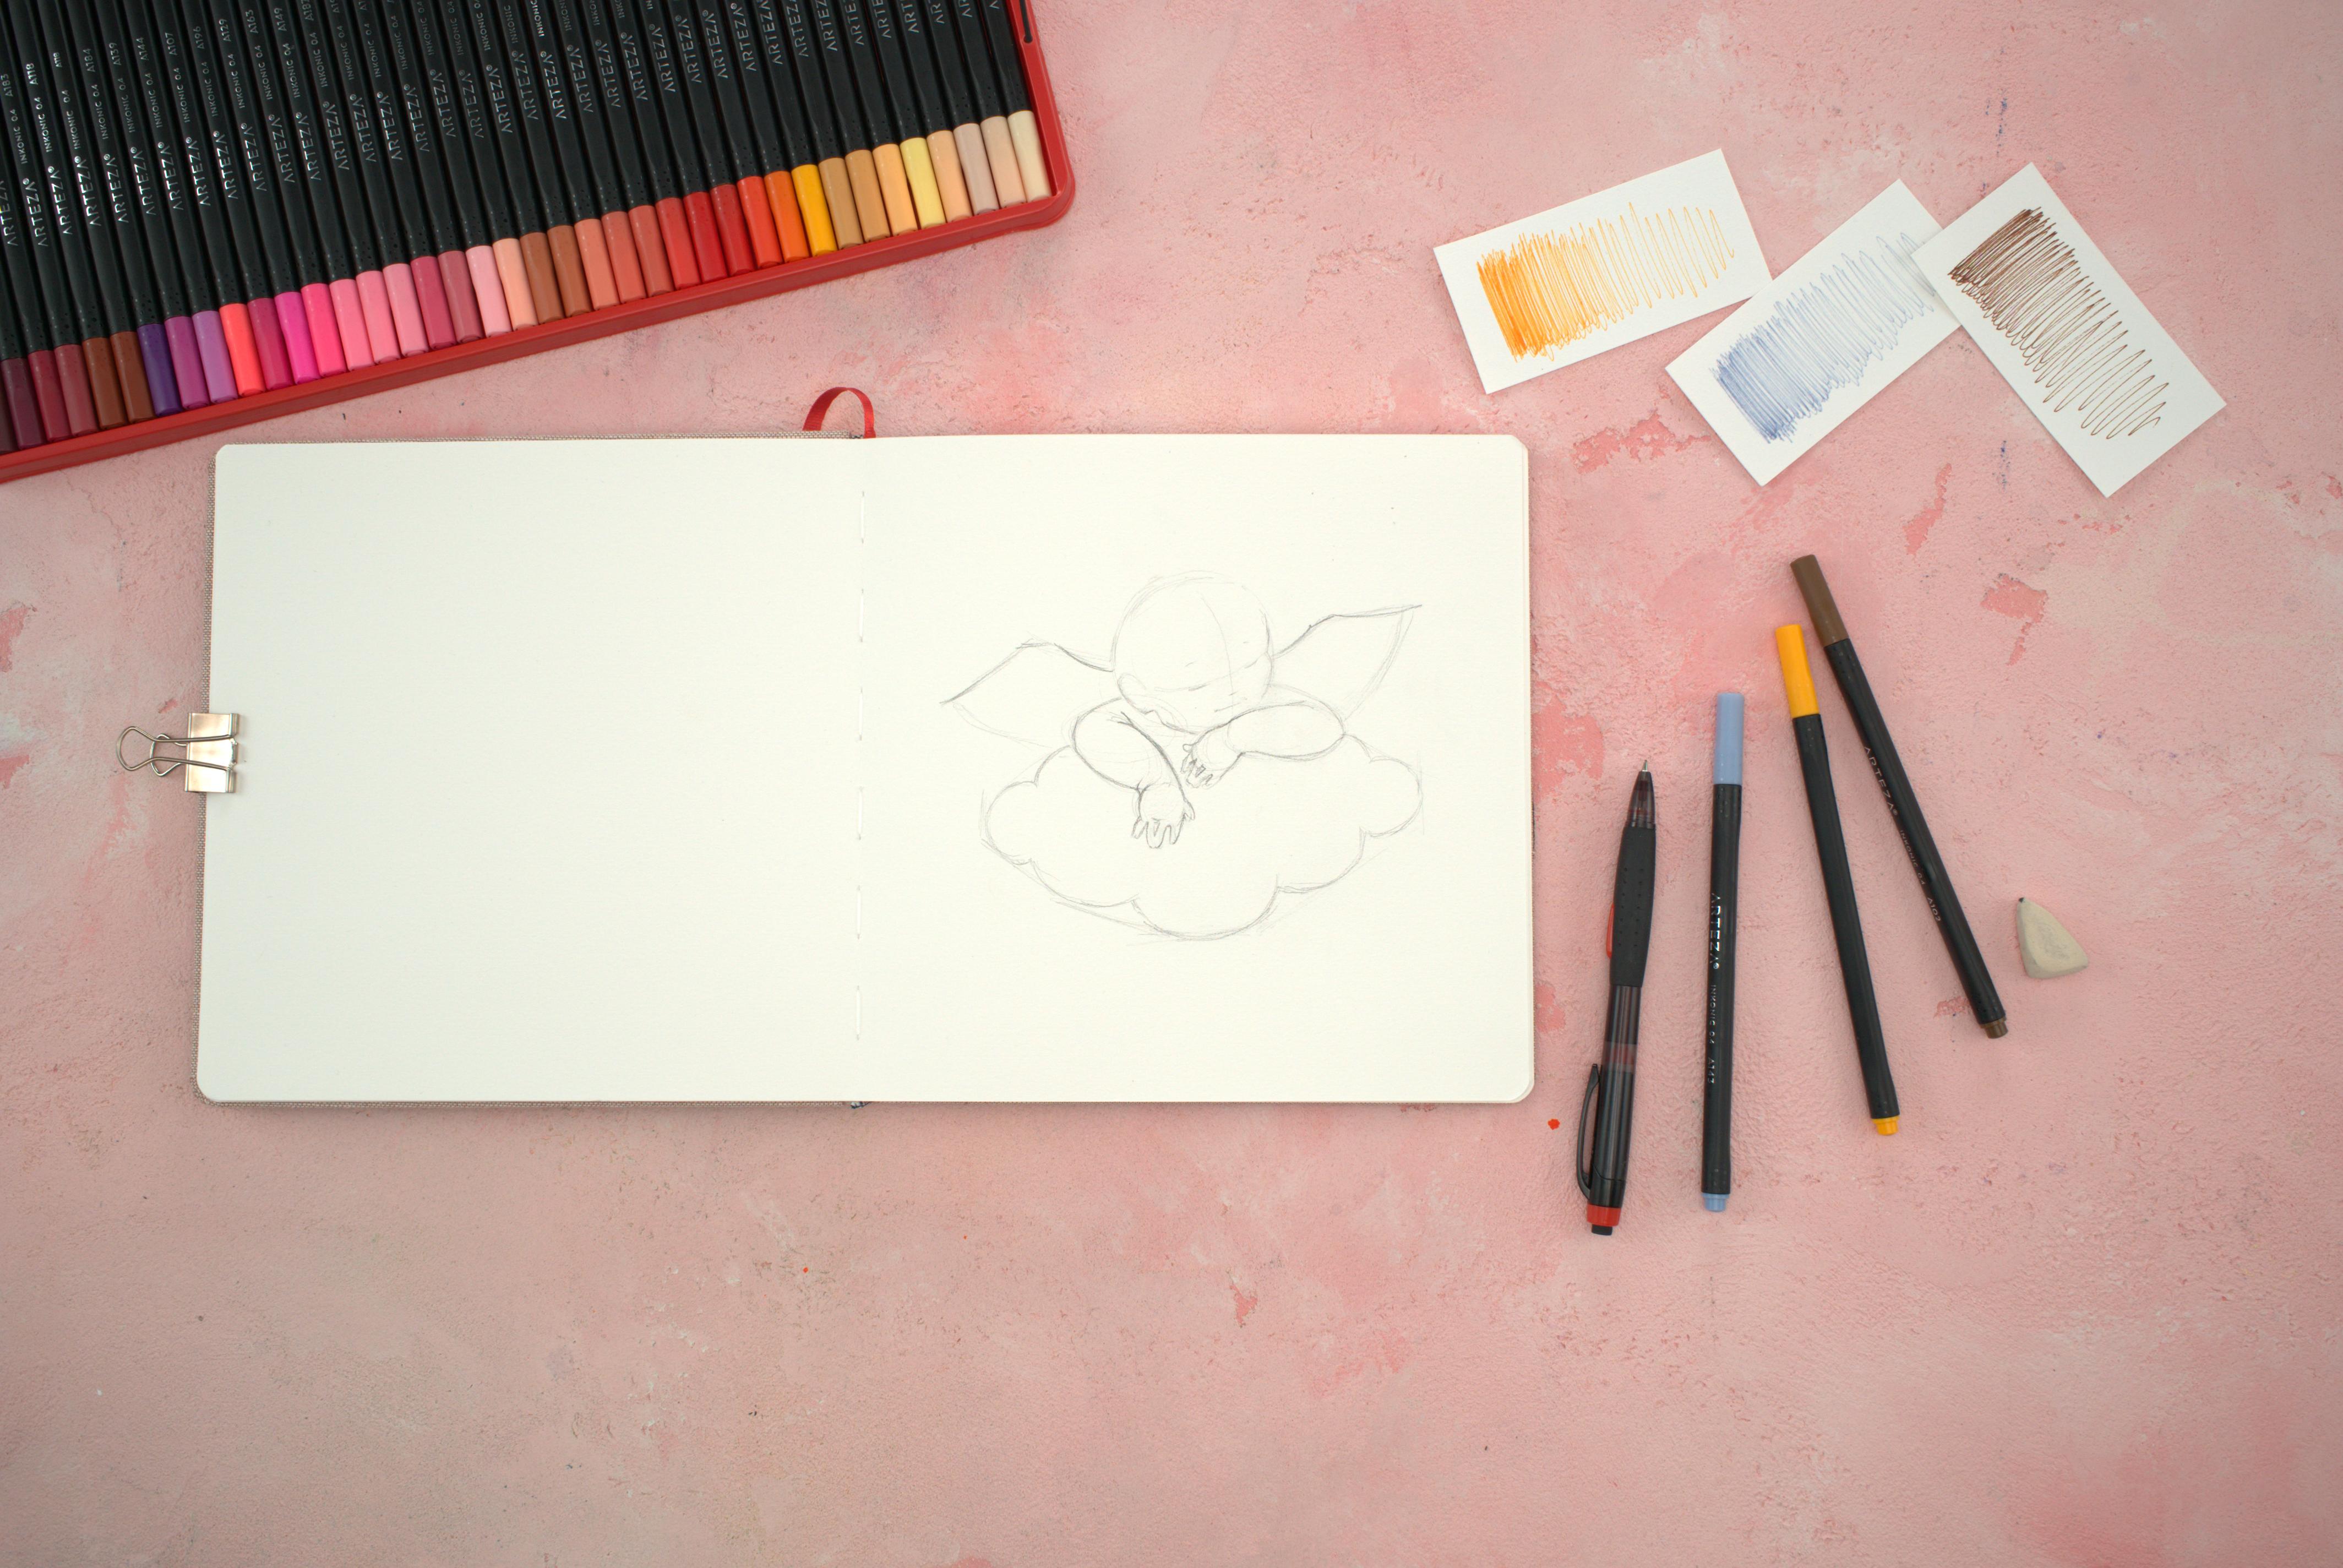
Draw a simplified sketch of a baby angel in a cloud with wings. Start by creating shapes to represent the head. Draw a circle, then add light marks to visualize where the centerline of the face is, to then build on from. Lightly sketch vertical lines for the nose and mouth. Then add marks to show where the eyes will sit. Below the angel’s head, sketch the hands, start by lightly drawing two ovals with small circles inside of them. From there, add the fingers, hands, and arms outlines. Next, add the cloud formation and wings.
Step 2
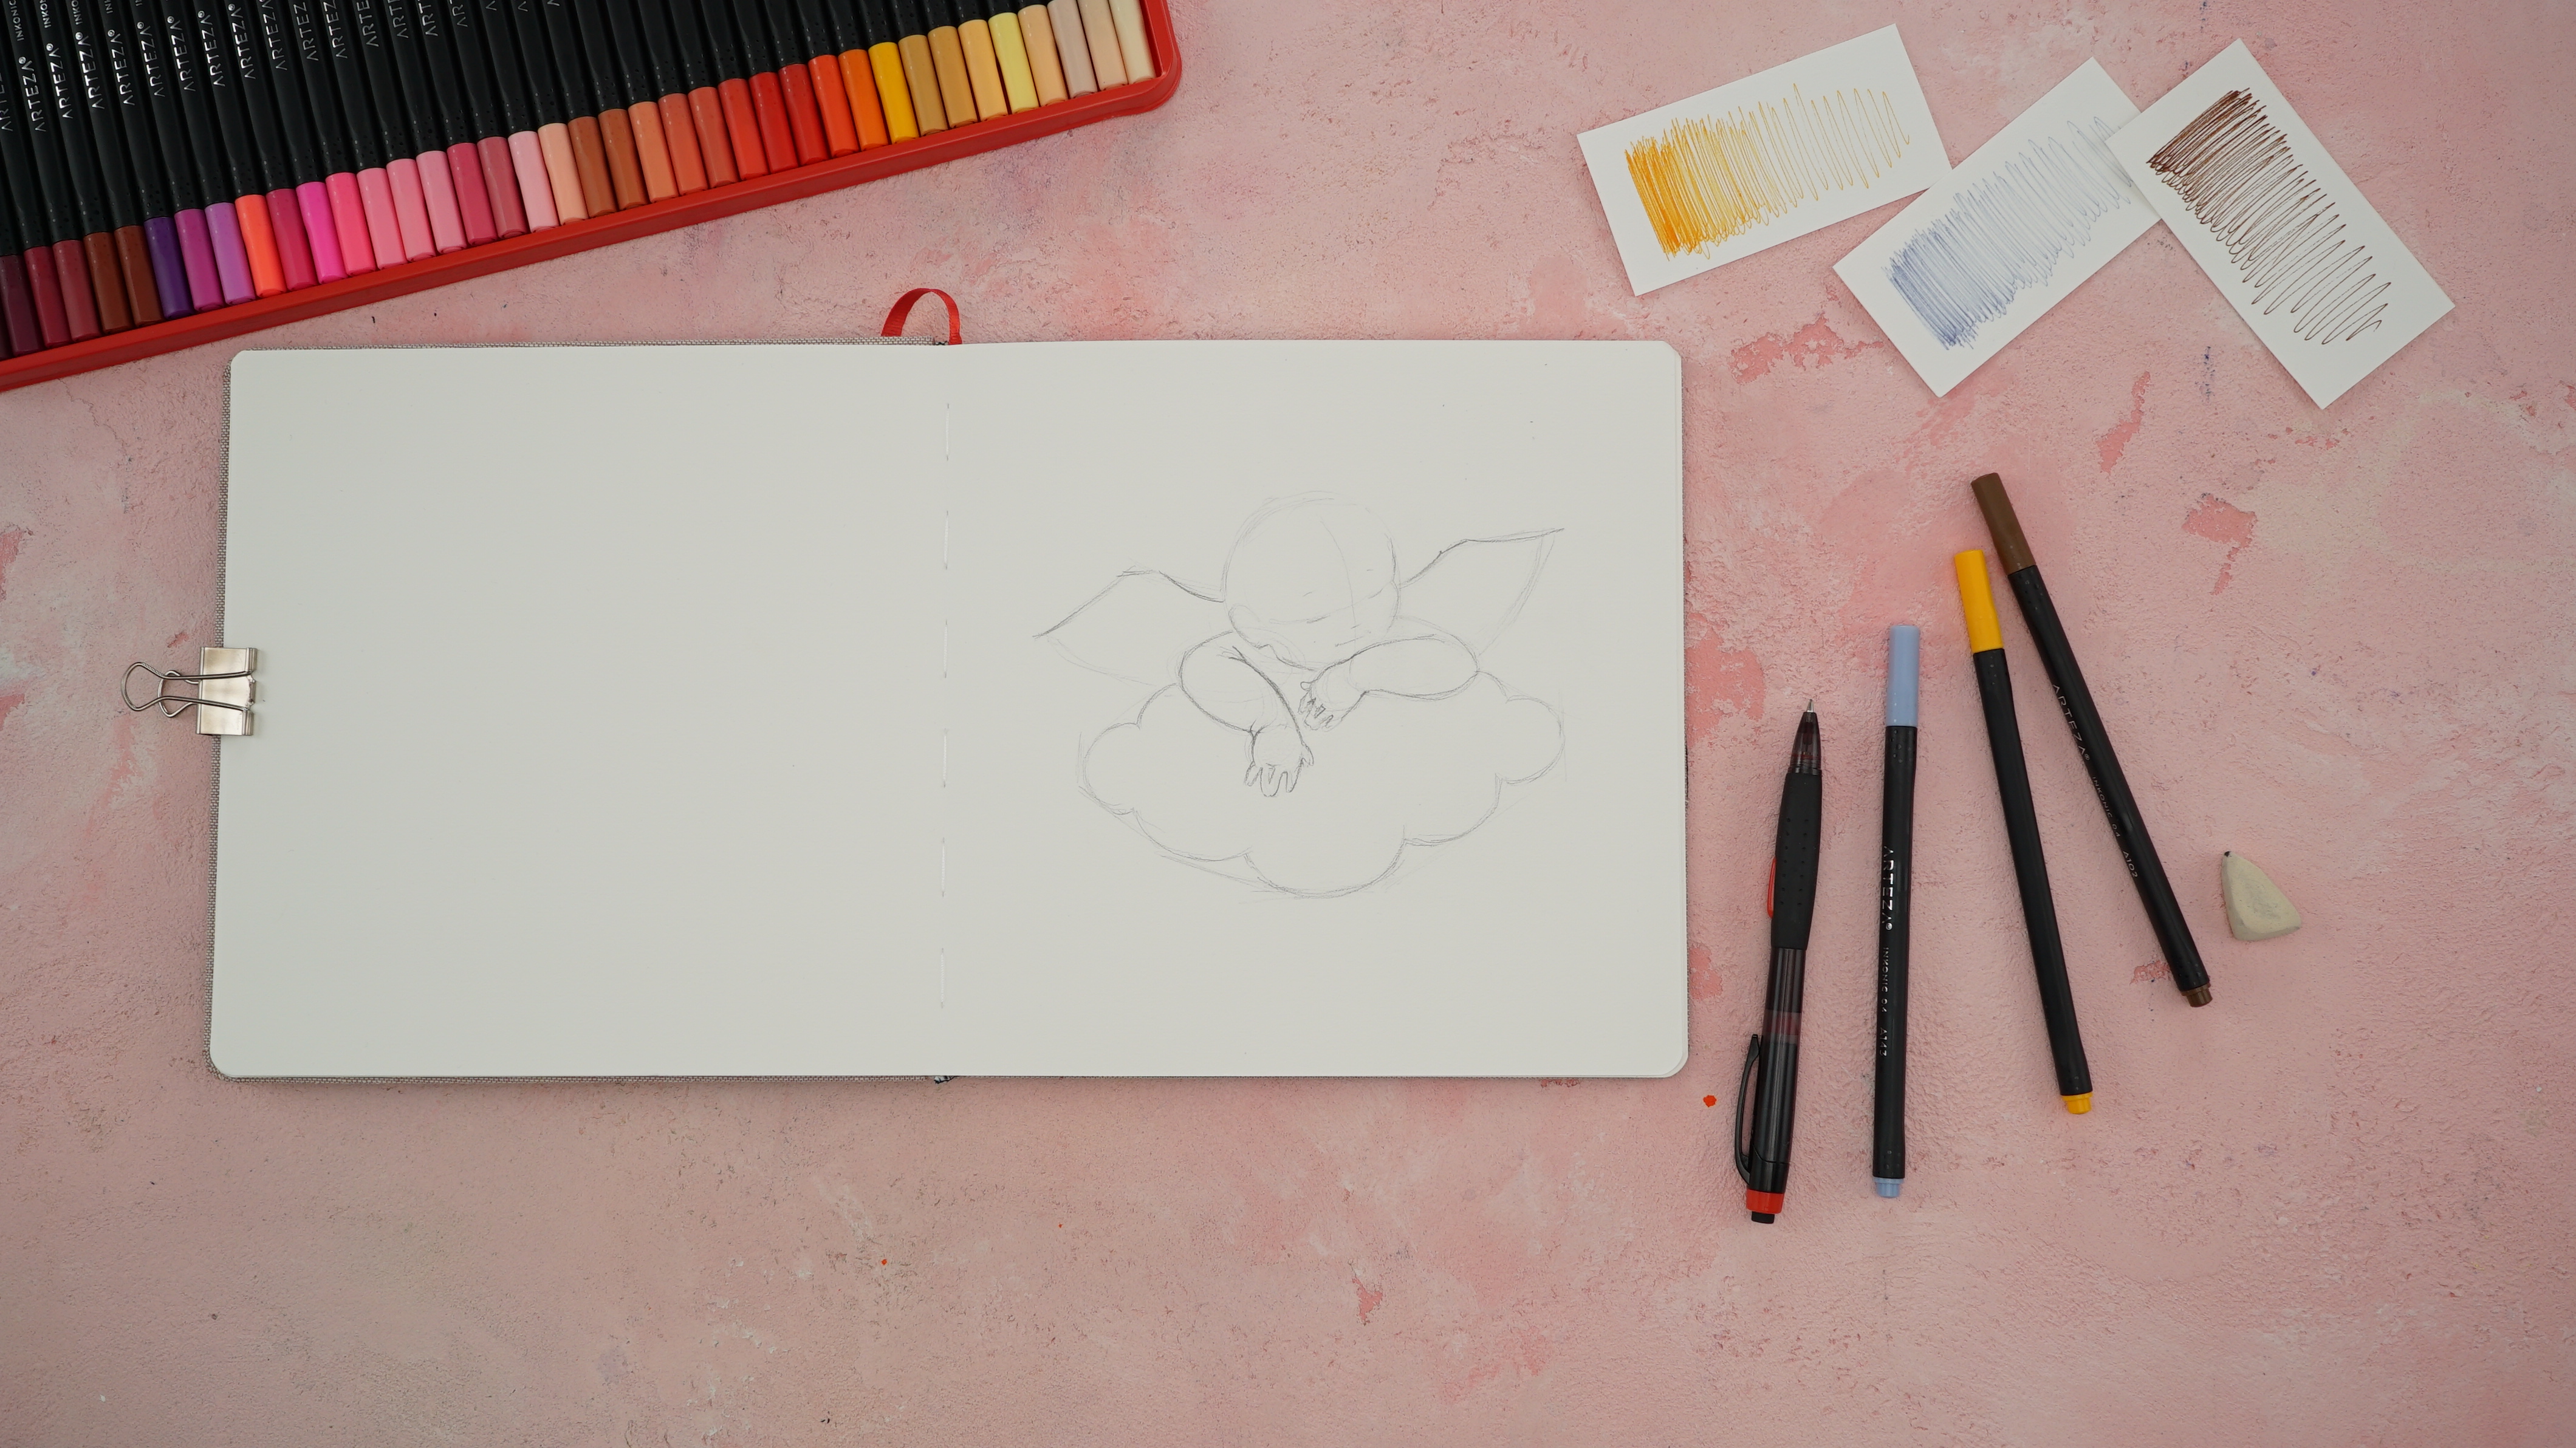
Add cheeks and an ear to your angel’s head. Refine the nose, mouth, and eyebrow area further. Tighten any areas that need more definition. Add fine details to the angel’s fingers and arms. Be sure to add a little extra baby fat around the angel’s wrists. Bring more formation to the cloud in your sketch before moving on to the next step.
Fun Fact: Cherubs appear numerous times in the Bible.
Step 3
Add formation and feathers to your angel’s wings, try your best to keep your wing’s details looking as symmetrical as possible. Next, add a head of hair to your angel. Use small curved lines to indicate the natural flow/growth pattern of hair. Take the time to better establish your angel’s facial features at this stage. Once everything’s looking good remove any unnecessary lines or marks with an eraser.
Fun Fact: Cherubs are also known as cherubim.
Step 4
Time to bring your cherub to life with the help of our Inkonic Fineliner Pens! Establish your source of light, then use A121 (golden) to add shadows to your angel. The suggested source of light for this drawing is the upper right corner of your paper. Use A143 (blue) to add detail to your angel’s feathers—create feather patterns coming from each feather’s root. Lightly and sparingly use the same color to add linework to the cloud. When coloring the cloud be sure to leave a highlight between your shadow and your outline, this will make your cloud appear more realistic.
Step 5
Using A102 (brown), outline your illustration. Use this color to add to your already established shadows. Try your hardest to be intentional with your line work, since this is the darkest color, any mistake is more likely to show.
Fun Fact: Raphael’s painting “The Sistine Madonna” (1512) features two cherubs that have since become the world-famous image of cherubs, and even some of the most famous angels in art history.
Step 6
Add more saturation to your design by accentuating shadows with A121 (golden), A143 (blue), and A102 (brown). Be sure to leave the areas with the strongest highlight slightly blank to allow for flawless color transitions. The contrast of the brown shadows and outline against the yellow and blue shading results in a truly beautiful color scheme!
Wow! What a stunning illustration! Thank you for taking the time to create alongside us using our Inkonic Fineliner Pens - Set of 120, our Watercolor Book, and a pencil. Our Inkonic Fineliner Pens deliver impressive results to make creating detailed illustrations with vibrant colors an enriching experience. Explore all of the endless color combinations possible with our Inkonic Fineliner Pens - Set of 120—and be sure to share your work with us on social media using #Arteza, we can’t wait to see what you create!


Leave a comment